
A nutty, chewy, crispy-edged cookie that’s truly unforgettable.
If you could only bake one cookie for the rest of your life, make it this one. Browned butter gives them a rich, toasty depth. Dark brown sugar adds a hit of caramel. Pools of melty chocolate and a pinch of flaky sea salt? Game over. They’re chewy in the middle, crisp at the edges, and gone in a flash.
“These cookies disappear so fast, I double the batch every time—and they still never make it past 24 hours.”
Why You’ll Love Them
- – Big Flavor: Brown butter = instant bakery-style magic.
- – Chewy-Crispy Texture: Soft centers with golden edges that lightly crunch.
- – Gooey Chocolate Pools: No skimping here—these cookies are loaded.
- – Simple, Smart Ingredients: Everything you need, nothing you don’t.
- – Make-Ahead Friendly: Dough chills beautifully and freezes like a dream.
Make-Ahead & Storage
These cookies are perfect for busy weeks or cookie emergencies:
- – Dough: Scoop, freeze on a tray, then store in a zip-top bag for up to 2 months. Bake straight from frozen—just add 1–2 extra minutes.
- – Baked Cookies: Store in an airtight container for up to 4 days at room temp, or freeze for up to 3 months. Warm for 10 seconds in the microwave to bring back the gooey centers.
Let’s Keep It Simple
You don’t need fancy tools or a bakery degree to make next-level cookies at home. Browning butter takes just a few extra minutes—and it’s so worth it. If you’ve never done it before, don’t worry. Just keep an eye on the color and smell. When it’s golden brown and nutty, it’s ready. And remember: slightly underbaked cookies = gooey magic.
Frequently Asked Questions (FAQ)
Can I use all-purpose flour instead of bread flour?
Yes, you can! All-purpose flour will still give you a delicious cookie, but the texture will be slightly softer and less chewy than the bakery-style finish that bread flour provides.
Why do I need to brown the butter?
Browning butter deepens its flavor, adding nutty, toffee-like notes that elevate the cookie far beyond a basic chocolate chip version. It’s a small step with a big payoff!
Do I really need to chill the dough?
Yes—chilling the dough is essential. It gives the flour time to hydrate, helps control spreading in the oven, and enhances the flavor. Even 30 minutes makes a difference, but overnight is best.
Can I skip the espresso powder?
Absolutely. The espresso powder just enhances the chocolate flavor subtly—it won’t make the cookies taste like coffee. You can omit it or swap in a bit of decaf instant coffee if desired.
Can I freeze the dough?
Yes! Scoop it into balls, freeze on a tray until solid, then store in a zip-top bag. You can bake straight from frozen—just add 1–2 minutes to the baking time.
Why are my cookies spreading too much (or not enough)?
This usually comes down to measuring flour incorrectly or skipping chill time. Use a kitchen scale for accuracy and make sure the dough is chilled before baking.
Stress-Free Baker’s Notes
- – No Bread Flour? All-purpose works—cookies will just be a little softer.
- – Short on Time? Skip chilling only if you’re okay with a thinner, slightly more spread cookie.
- – Don’t Overthink the Chocolate: Chips, bars, chunks—use what you love or have on hand.
- – Want Cookies Anytime? Freeze scoops of dough and bake from frozen whenever the craving hits.
Final Thoughts from My Kitchen to Yours 💛
These cookies are everything I want baking to be: delicious, no-fuss, and fun to share. Whether you’re baking with kids, gifting a batch to a friend, or just treating yourself after a long day—you’ve got a go-to recipe that feels fancy but isn’t fussy.
And hey, if something goes slightly sideways? That’s okay too. Because around here, baking doesn’t have to be perfect—it just has to be joyful.
Brown Butter Chocolate Chip Cookies
Equipment
- Medium Sauce Pan
- Silicone Spatula
- Whisk, Mixing Bowl
- Disher
- Measuring Cups/Spoons or Scale
- Plastic Wrap
- Cookie Sheets
- Parchment Paper or Silicone Baking Mats
- Cooling Rack
Ingredients
Instructions
- 1
Place a medium saucepan over medium heat and add the butter. Stir occasionally using a silicone spatula as the butter melts and foams. Continue cooking for about 5–10 minutes until the butter turns golden brown and releases a nutty aroma.Immediately transfer the browned butter to a mixing bowl and refrigerate until slightly thickened (about 30 minutes).
- 2
In a separate mixing bowl, whisk together the bread flour, baking soda, salt, and espresso powder. Set aside.
- 3
Once the browned butter has cooled, whisk in the dark brown sugar and granulated sugar until smooth and slightly lightened. Add the whole egg, egg yolk, and vanilla extract, whisking until fully incorporated.
- 4
Gradually fold the dry ingredients into the wet ingredients using a silicone spatula. When the flour is about halfway incorporated, fold in the chopped chocolate. Be careful not to overmix.
- 5
Cover the bowl with plastic wrap and refrigerate the dough for at least 30 minutes (for best results, chill for 1 hour or overnight).
- 6
While the dough chills, preheat the oven to 350°F (175°C). Line cookie sheets with parchment paper or silicone baking mats.
- 7
Using a disher or cookie scoop, portion out 2-tablespoon-sized dough balls onto the prepared baking sheets, spacing them about 1 inch apart. Bake for 10–12 minutes or until the edges are lightly golden brown and the centers are just set.
- 8
Immediately sprinkle the cookies with flaky sea salt while they are still warm. Let the cookies cool on the baking sheet for 5 minutes before transferring them to a cooling rack.
- 9
Serve and Enjoy!
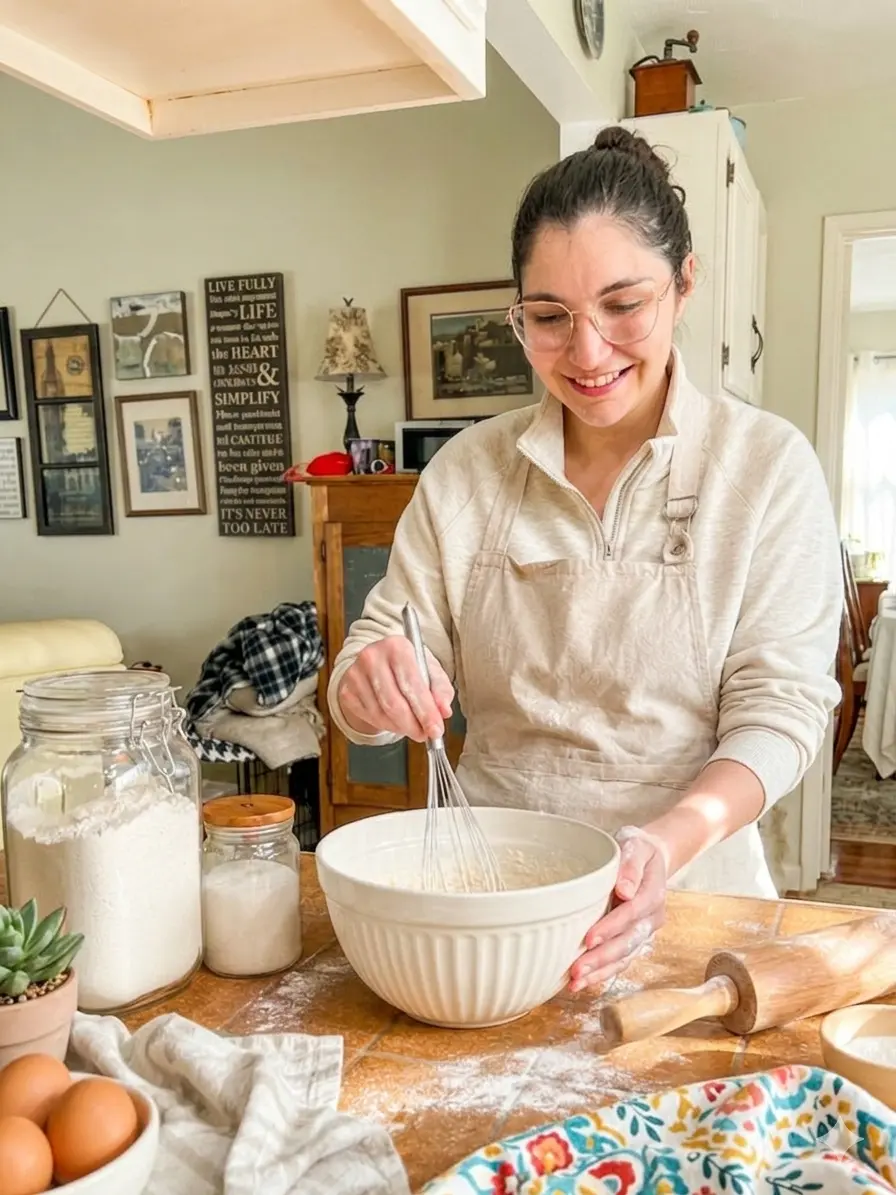
Hi, I'm Emily!
I'm so glad you're here! I believe baking should be simple, fun, and always rewarding. If you try this recipe, I'd love to hear how it turned out for you!
More About Me →Don't Lose This Recipe!
Enter your email below and I'll send it straight to your inbox.
No spam, just the good stuff ♥You'll Also Love

Chocolate Zucchini Bread
A rich, moist loaf that tastes like chocolate cake—with a hidden veggie twist. This…
View Recipe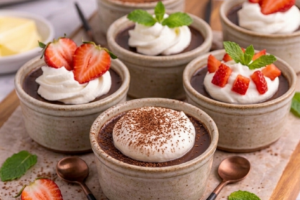
Pot de Crème
A silky, ultra-rich chocolate custard that blends in minutes and chills to creamy, spoonable…
View Recipe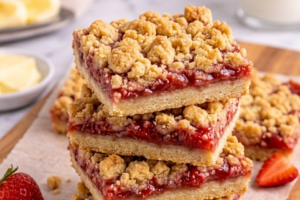
Strawberry Crumb Bars
A buttery crust, jammy berries, and golden crumble—summer’s sweetest shortcut. If you’ve got strawberries…
View Recipe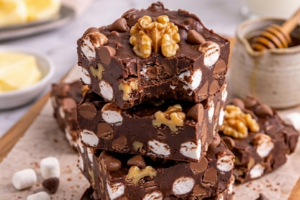
Rocky Road Fudge
Your shortcut to rich, chocolatey bliss—no thermometers, no stress, just sweet satisfaction. If fudge…
View Recipe
No reviews yet. Be the first to rate this dish!