About This Recipe
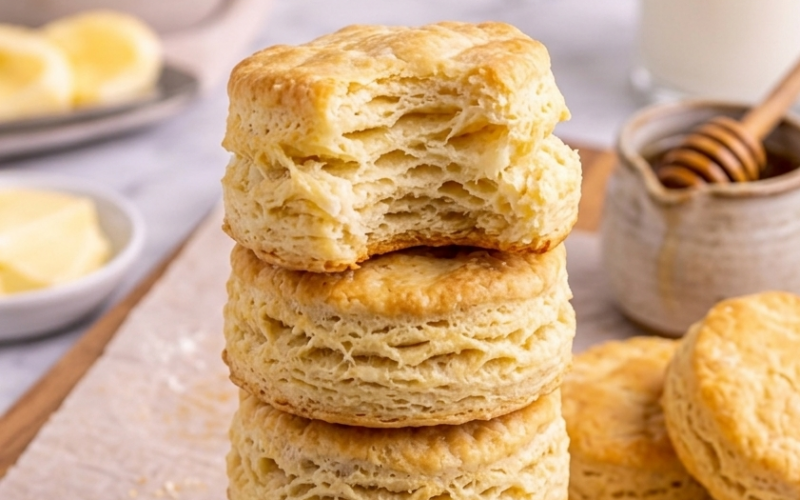
These biscuits are everything a good Southern biscuit should be: tall, tender, and unapologetically flaky.
I first learned them standing on a stool in my Granny’s kitchen, where I was taught two rules that never change: keep everything cold, and never twist the cutter. That’s the whole secret.
“They taste like home, and no store-bought version comes close.”
Why You’ll Obsess Over These
- The “Steam Engine” Effect: Cold butter hits a hot oven, creates steam, and sends these biscuits sky-high.
- Zero Gadgets Required: Put the mixer away. All you need is a bowl, a fork, and your own two hands.
- The Ultimate Shape-Shifter: They’re the perfect canvas for a fried chicken breast at lunch or a thick smear of strawberry jam at dawn.
- The “Messy Middle” Secret: We’re going to fold the dough like a letter to create those famous flakey layers.
Kitchen Chemistry: No Buttermilk? No Problem.
Don’t let a missing carton stop your bake. Try these quick pivots:
- The Classic: 1 cup milk + 1 tbsp lemon juice (let it “curdle” for 10 mins).
- The Rich Version: ½ cup milk + ½ cup Greek yogurt.
- The Simple Path: ¾ cup whole milk (it’ll be a bit milder, but still delicious).
Flaky Southern Biscuits
Tender layers, golden edges, and bakery-worthy rise—every single time.
Prep Time: 30 Minutes
Cook Time: 10-15 minutes
Total Time: 40-45 minutes
Servings: 12 biscuits
Equipment
Mixing Bowl
Fork or Pastry Cutter
Baking Sheet
Measuring Cups and Spoons
Round Cookie Cutter
Parchment Paper
Ingredients
2 cups (240g) All-Purpose Flour
½ cup (115g) Unsalted Butter, cold and cut into pieces
½ teaspoon (3g) Salt
3 (14g) teaspoons Baking Powder
½ teaspoon (3g) Baking Soda
1 (165mL) cup Cold Buttermilk (or see substitutions above), plus more for brushing
The Blueprint: Step-by-Step
Step 1: Get the Heat Going
Preheat to 450°F (233°C). This high heat is non-negotiable for that instant rise. Line your sheet with parchment—give those biscuits a non-stick runway.
Step 2: Whisk the Dry Goods
In a big bowl, whisk your flour, salt, baking powder and baking soda. Think of this as aerating the dough—we want it light and breathable.
Step 3: The “Pea-Sized” Rule
Drop in those cold butter cubes. Use a fork or pastry blender to “cut” them in. You aren’t looking for a smooth paste; you want little nuggets of butter the size of peas. Those nuggets = steam pockets = flakiness.
Step 4: The Gentle Pour
Make a well in the center (like a little flour volcano) and pour in the cold buttermilk. Stir just until it looks shaggy. If you overwork it here, you’re making bread, not biscuits!
Step 5: The “Envelope” Fold
Turn the dough onto a floured surface. Gently fold it over itself 5 or 6 times. This is “lamination”—it’s how we build those structural layers without a machine. Keep your movements light and fast to prevent too much gluten from forming and your biscuits for becoming tough.
Step 6: The “No-Twist” Zone
Pat the dough to 1-inch thick. Press your cutter straight down and straight up. If you twist, you “seal” the edges, and the biscuit can’t grow. Let them touch on the pan for soft “pull-apart” sides, or space them out slightly (about a quarter-of-an-inch) for a golden crunch all around.
Step 7: The Glow-Up
Brush the tops with a little extra buttermilk. Bake for 10-15 minutes. Watch for that “Gilded Age” golden brown.
Troubleshooting Your Bake
- Why are they flat? It could 1 of 2 things. 1. The butter got too cozy (warm). If your kitchen is hot, pop the cut biscuits in the fridge for 20 minutes before they hit the oven. 2. Your baking powder and/or soda is expired and need to replaced.
- How do I keep them fresh? They are best “live” from the oven, but they’ll stay happy in an airtight container for 2 days.
- Can I prep ahead? Absolutely. Freeze them raw on the tray, then bag them up. Bake them straight from the freezer—just add 3-5 minutes to the timer.
Final Thoughts 💛
There is something therapeutic about the smell of butter and flour filling a house. These biscuits aren’t just a recipe; they’re a hand-off of a tradition that started in my Granny’s kitchen and ends in yours.
Go ahead—get some flour on your apron.
Flaky Southern Biscuits
Equipment
- Mixing Bowl
- Fork or Pastry Cutter
- Baking Sheet
- Measuring Cups and Spoons
- Round Cookie Cutter
- Parchment Paper
Ingredients
Instructions
No instructions provided yet.
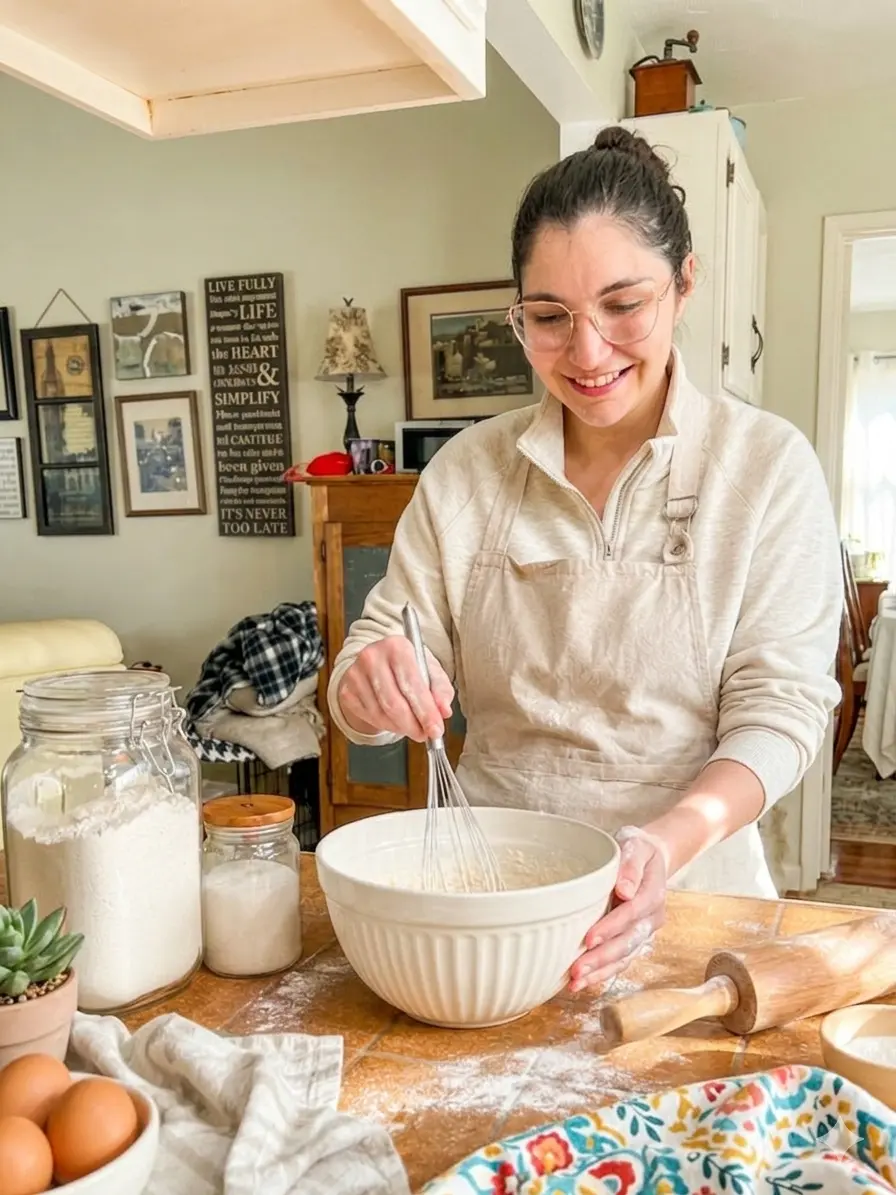
Hi, I'm Emily!
I'm so glad you're here! I believe baking should be simple, fun, and always rewarding. If you try this recipe, I'd love to hear how it turned out for you!
More About Me →Don't Lose This Recipe!
Enter your email below and I'll send it straight to your inbox.
No spam, just the good stuff ♥You'll Also Love
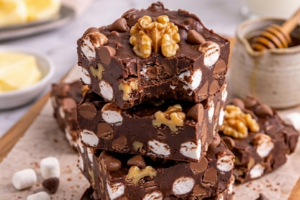
Rocky Road Fudge
Your shortcut to rich, chocolatey bliss—no thermometers, no stress, just sweet satisfaction. If fudge…
View Recipe
Brown Butter Chocolate Chip Cookies
A nutty, chewy, crispy-edged cookie that’s truly unforgettable. If you could only bake one…
View Recipe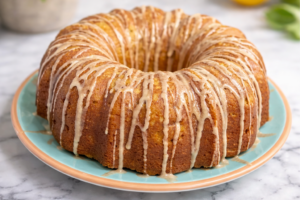
Spiced Apple Bundt Cake
Your cozy, cinnamon-kissed hug of a cake—baked in a Bundt, bursting with fresh apple…
View Recipe
Blueberry Corn Muffins
Warm, buttery, and bursting with berries—these are breakfast heroes that bake in under 20…
View Recipe
No reviews yet. Be the first to rate this dish!